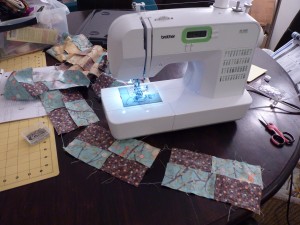
Monthly Archives: April 2011

A for effort?

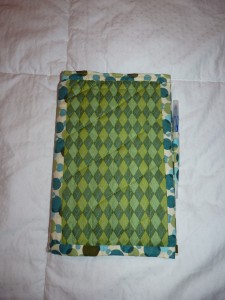
I decided to try my hand at a little project this weekend – a notebook cover. One of my coworkers has a stash of spiral bound notebooks she uses in the office. For her birthday, I thought I could giver her a cover.

I found this great little tutorial for a felt cover, and thought it could translate well into a quilted cover. I was kinda right. Almost.

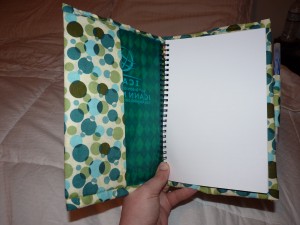
Maybe if I didn’t decide to make a contrasting spine and flap covers, it would have come out a little better. The biggest issue was actually finishing it. I wound up hand sewing the binding on the top and bottom – binding that I didn’t even want to have to do!

I think I’ll try another one, but I have some ideas of how to make it a little better . . . But for tomorrow, this is the one she’s getting, but I’ll make it clear that she doesn’t have to use it if she doesn’t want to :)

See the pen holder on the side?


Pinwheels, finally.

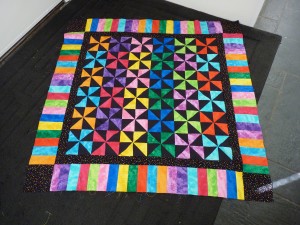
Back in November, I was visiting my mom.  I had pretty much completed my first quilt top, and I was trying to decide what the next project would be.  Looking at pictures, we were both struck by jewel tones paired with black, and came across a pindot pinwheel pattern that may work.  It was agreed – this would be a quilt for mom.

Mom's pinwheel top

Between the cutting (hours and hours of cutting) and piecing, I finally finished the quilt top a few months ago. It’s messy.  It doesn’t always match at the seams.  It was a stupid thing to try to tackle for a second attempt at a quilt top.  But it is what it is!  And this week, I will actually finish the quilt!  She’s been very patient….

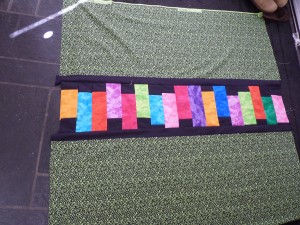
After getting squirrel’s quilt sent off, I came up with an idea to solve a problem that kept me from finishing mom’s quilt – I didn’t have quite enough backing.  So I created a panel to finish the back and tie in the colors from the front.

The solution!

It’s too nice of a day around here to quilt this today, but it’ll happen this week.

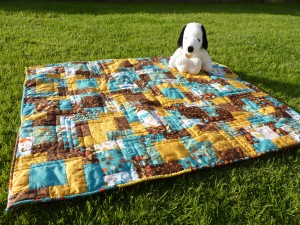
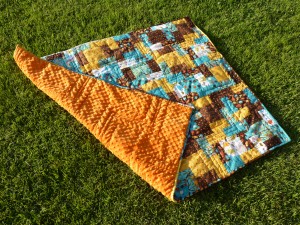
Squirrel quilt is DONE!

Snoopy approved

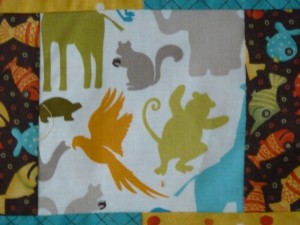
This is for Baby “Squirrel”, a little boy or girl we expect to arrive any day! Knowing how hard it was to find a squirrel invite for Squirrel’s baby shower, I was shocked that I was able to find Kate Spain’s Central Park fabric including this adorable SQUIRREL!

Squirrels!

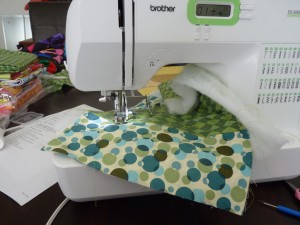
I blogged earlier about my process and progress on the squirrel quilt at This week’s project. I should have taken a picture of when I was quilting, because there was one point where I was forcing nearly the entire bulk of the quilt through that SMALL area to the right of Flossy’s (the sewing machine’s) needle – it was ridiculous.

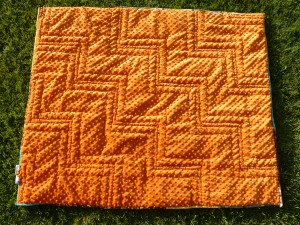
But the end result of fighting through the quilting is this zig-zag pattern, that you see better on the soft minky side of the quilt (I want a blanket made of this stuff! In the words of the little girl from Despicable Me, “it’s so fluffy!”)

Zig Zag

I’m so excited to send this off to Squirrel’s parents.

The SECOND quilt

I’m working on the binding for the brown/yellow/blue quilt (I call it the “squirrel” quilt for reasons that will be apparent very soon!), here’s a look at a quilt I finished last month.
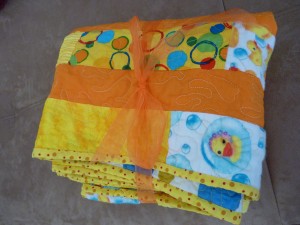
Duckies!

Lots of friends are having babies right now, so I’m using their kids as a chance to practice…


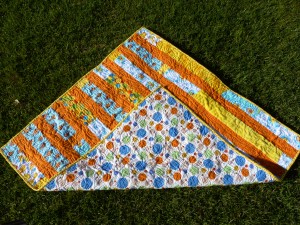
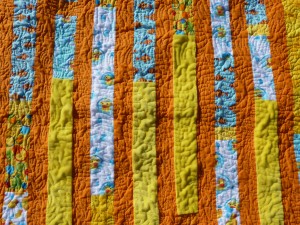
I had a quilting kit from Joann’s that I thought would be perfect for a gender-neutral quilt. Except I found the pattern quite boring – a border of squares around a big solid center. I also found that I didn’t like some of the fabrics in the quilt, as least not for use here. Finding the BUYING of fabric to be most favorite part of quilting, I’d already started building a stash, so the entire top was fully a stash-busting effort. I decided to go with a simple strip piecing, and cut a bunch of 3″ strips that I pieced together, and I had the top basically finished in 2 days. I found this happy background fabric, which carried over the bubble/dot theme that was most prominent on the front.
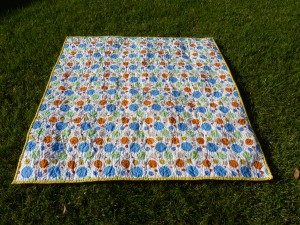
Happy dots

Then I broke out the free motion foot. I did some practicing, found a groove, and quilted nearly the entire top in one night in this strange variation of a stipple. I’d like to get better (MUCH better) at it, but I was really happy with the first attempt. Within 2 nights, the quilt was quilted, and then it was just a matter of binding. I believe I’m the world’s SLOWEST binder (hand sewing takes me FOREVER), but I’m not yet confident enough that I can pull off a machine-binding technique.

I had hoped to finish the quilt in time for the baby shower, but I was about 10 inches short of finishing the binding when the day came around. So I wrapped the quilt up with a note that I was going to take it home and finish it!! The parents are super efficient, so I actually had the THANK YOU note for the quilt before I had it in the mail to them! (In my defense, the TY note arrived 2 days after the shower. The quilt – washed and ready – went out on the 3rd day).

Here’s the finished product:
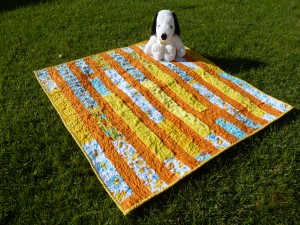
Snoopy tested and approved
 

This week’s project

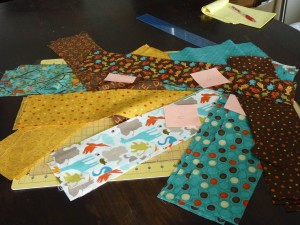
Beginning of the cutting

It’d been a little bit of time since I had the sewing machine out. Between prepping for an out of town meeting and being out of town, I was up to almost 2 weeks of no sewing. I was really looking forward to getting back (I have this fear that I’ve forgotten how to free motion quilt, but we’ll get to that one later) and getting something done. Top priority: the quilt for the baby coming in April. I found the fabric a couple of months ago, so once I decided on a pattern, I was ready to go. Not being too satisfied with my improv piecing abilities, I decided on a block-based square based on a quilt I saw on the internet. I did some calculations and started cutting.

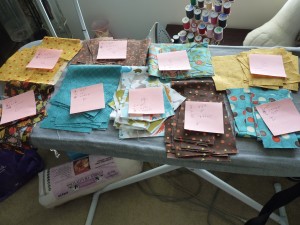
The cutting is complete

Sunday morning, I wake up and it’s a little rainy, so I proceed to cut some more and get everything ready. You can see all of my nice little piles, with post it notes and counts, lined up on my ironing board waiting for me. This is definitely one of the bigger lessons I’ve already learned – PLAN out the quilt, cutting and all. If only I were this organized in all aspects of my life!!

Starting to come together

During the evenings this week, I sewed pieces together in bunches. My favorite time (and thread!) saving trick is to chain the various pieces together by not cutting the thread after I complete the stitching of each piece. I just pull a bit of extra thread and put the next piece in… The picture above shows a chain in progress of my 30 blocks. And my trusty little machine. Her name is Flossy.

A couple of nights ago, I actually finished piecing the entire top, so all that’s left now is basting it all together and quilting. I’ve decided to go with a geometric zigzag – I hope I can pull it off! More pics to come . . .